Katie's white feather down comforter had holes poked into it from "Smokey" the cat; So the blanket ended up being put into a bag so that the feathers could stay retained into the comforter for a "mending" day. The mending day came and as I sat there sewing each hole, I am looking at it and thinking "it really should look better than that! I mean I am all for white for certain things, just not comforters. They just show way too much on the dirt scene.
With this mentioned above, that is how we ended up creating a Duvet cover for her down blanket. We began looking for material - Okay it may not go together all that well, but it is unique and she will know if anyone steals it :O).
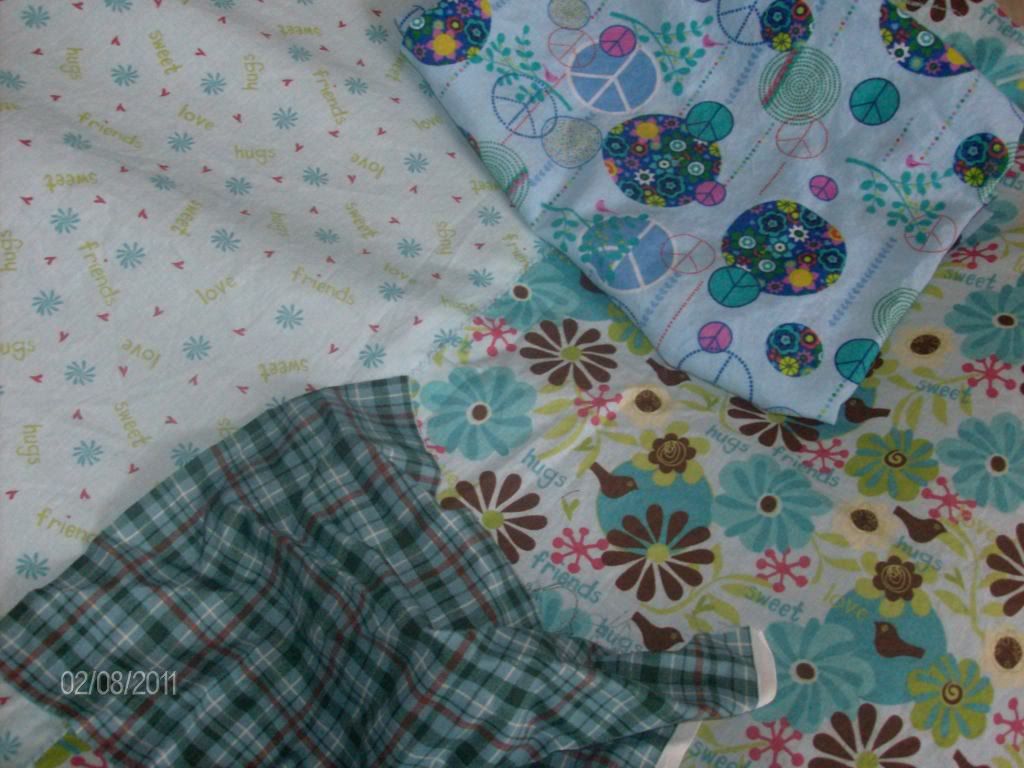 |
| swatches of fabric left; we are going to be making some cool pillows with the remains |
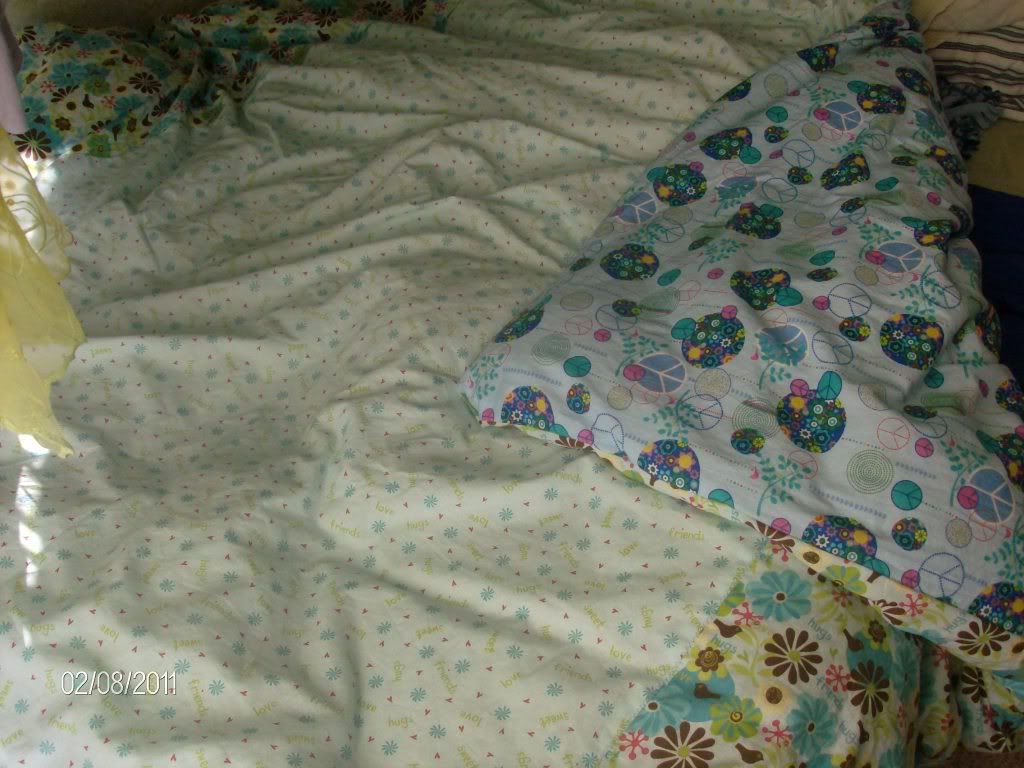
Katelyn and I debated and went over all the fabric with these being the choices. We kicked around a couple of ideas, only to decide to choose this one. The blanket needed to be 70 X 70 inches, so with the fabric being 45 inches, it was large enough to sew two pieces side by side and not cutting off the selvage sides. I went ahead and ironed down the seams after straight stitching the fabric meeting and then placed a zig zag stitch over both sides. I think its a wonderful accent. The middle fabric on the front are little hearts with sayings that are basically the same as the one piece of fabric that was split in half and one side was pinned and sewn into place like above with the zigzag stitch. The back is decorated with circles with multi-colorcircles, not to mention some hearts, and the peace sign. I basically just pinned together front to back and went to town sewing the three sides together and pinning the back to the front with the front of the fabric both inside. I sewed the main blanket (front meeting the back).
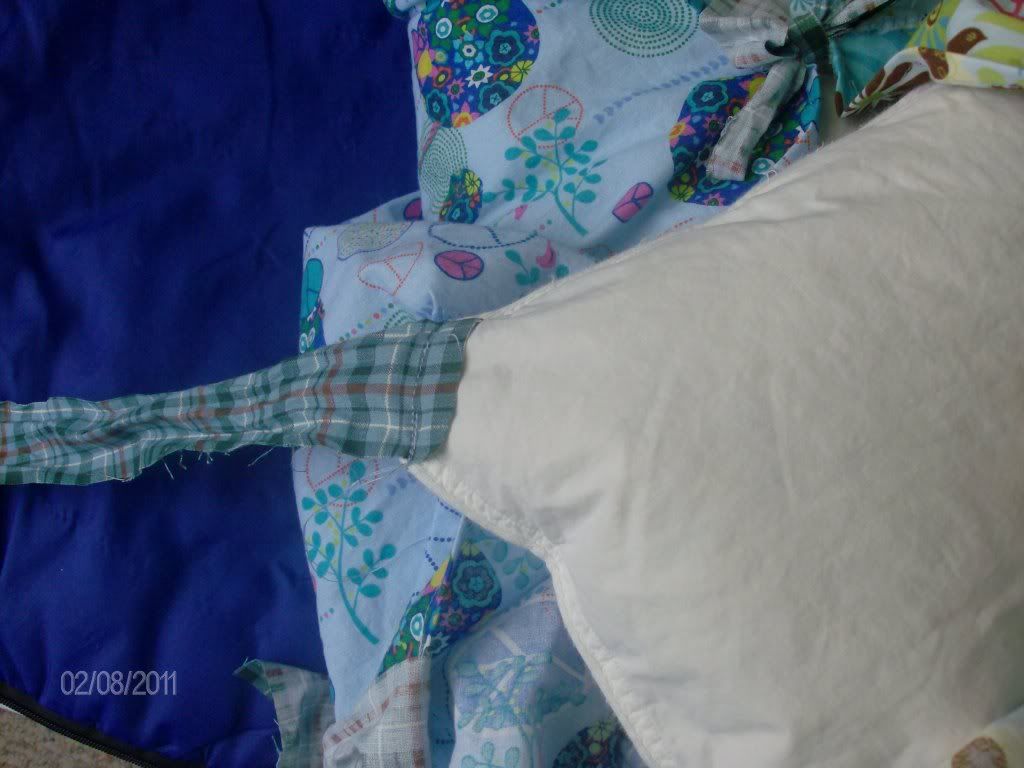
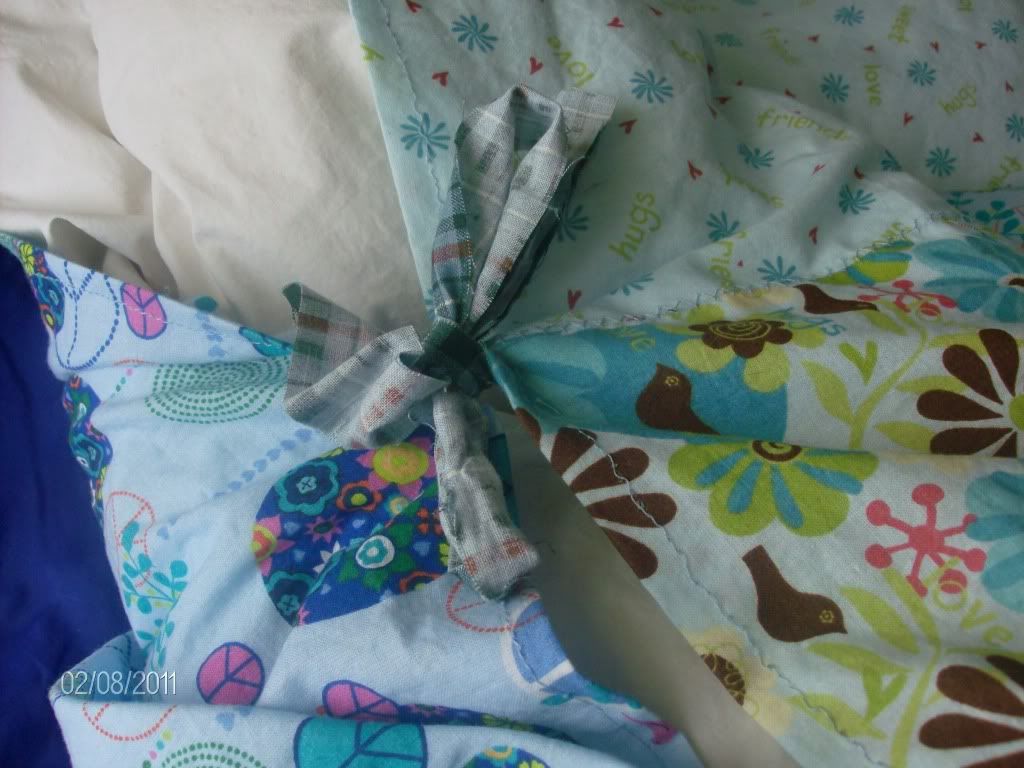
In order to keep the blanket from moving around too much, I cut ties and sewed them into each corner of the blanket and then another tie in the same area that it would be inside the blanket and sewed the ties to the blanket so the ties are inside the cover. I also chose to use a different scheme of fabric for the ties so that they are able to be found better when trying to put the cover on. I also put an extra tie in the center on the top so it would not sag in the center. To complete the bottom and make it easier to change out for washing the cover only I also placed five(ten- one for front and back) ties of fabric on the bottom of the cover to keep the blanket inside.
This photo shows one of the ties at the bottom of the blanket and Duvet. If you look closely, you can see the stitching on the front in between the different fabric on the front.
For some reason Katie was happy to make her bed.. but to show you exactly what the front and back look like, I pulled the corner to show you the back also. At first I was tickled because it looks like a scrapbook page awaiting it's photos. After I got this all sewed up with the blanket attached inside, she took it along to bed with her, fixed her bed, crawled into to it to try it, and fell asleep. All at or before 7:30 PM. She was all nice and cuddled like a bug in a rug.
When Katelyn stepped off the bus from school tonight, she went straight for her bed and pulled this blanket off her bed and WALKED around with her. I couldn't help but make the comment "Sheesh Katie, you went from carrying your baby blanket to carrying around a full size comforter!" and it just kind of stuck from that point!


No comments:
Post a Comment